How to Make Homemade Milanesas

16 de sep. de 2024 — Luis Paz

They say it doesn't matter how many elements a system has — it's only as strong as the weakest of them. Maybe that's why no milanesa is a great milanesa unless it starts with noble techniques and materials — not expensive, but efficient. Here I share the workflow I use. I've never worked as a cook, but I've been eating milanesas (of all kinds) on a weekly basis for 35 years, and I've been making them for two decades.
Choosing the right cut of beef for milanesas
From the traditional beef selection, it's perfectly fine that top round (nalga) is the definitive cut for milanesas. It has good flavor, absorbs whatever seasoning you add, it's tender, even, yields well, and it's memorable — because you can get those massive plate-sized milanesas. And on top of that, they come out shaped like Argentina. Although it's one of the pricier cuts for milanesas, it has rightfully earned its place as the homemade canon and the go-to for serving on a plate or in sandwiches — by the way, have you read Juan's recipe for homemade bread? — From one kilo of top round you get 8-10 cutlets.
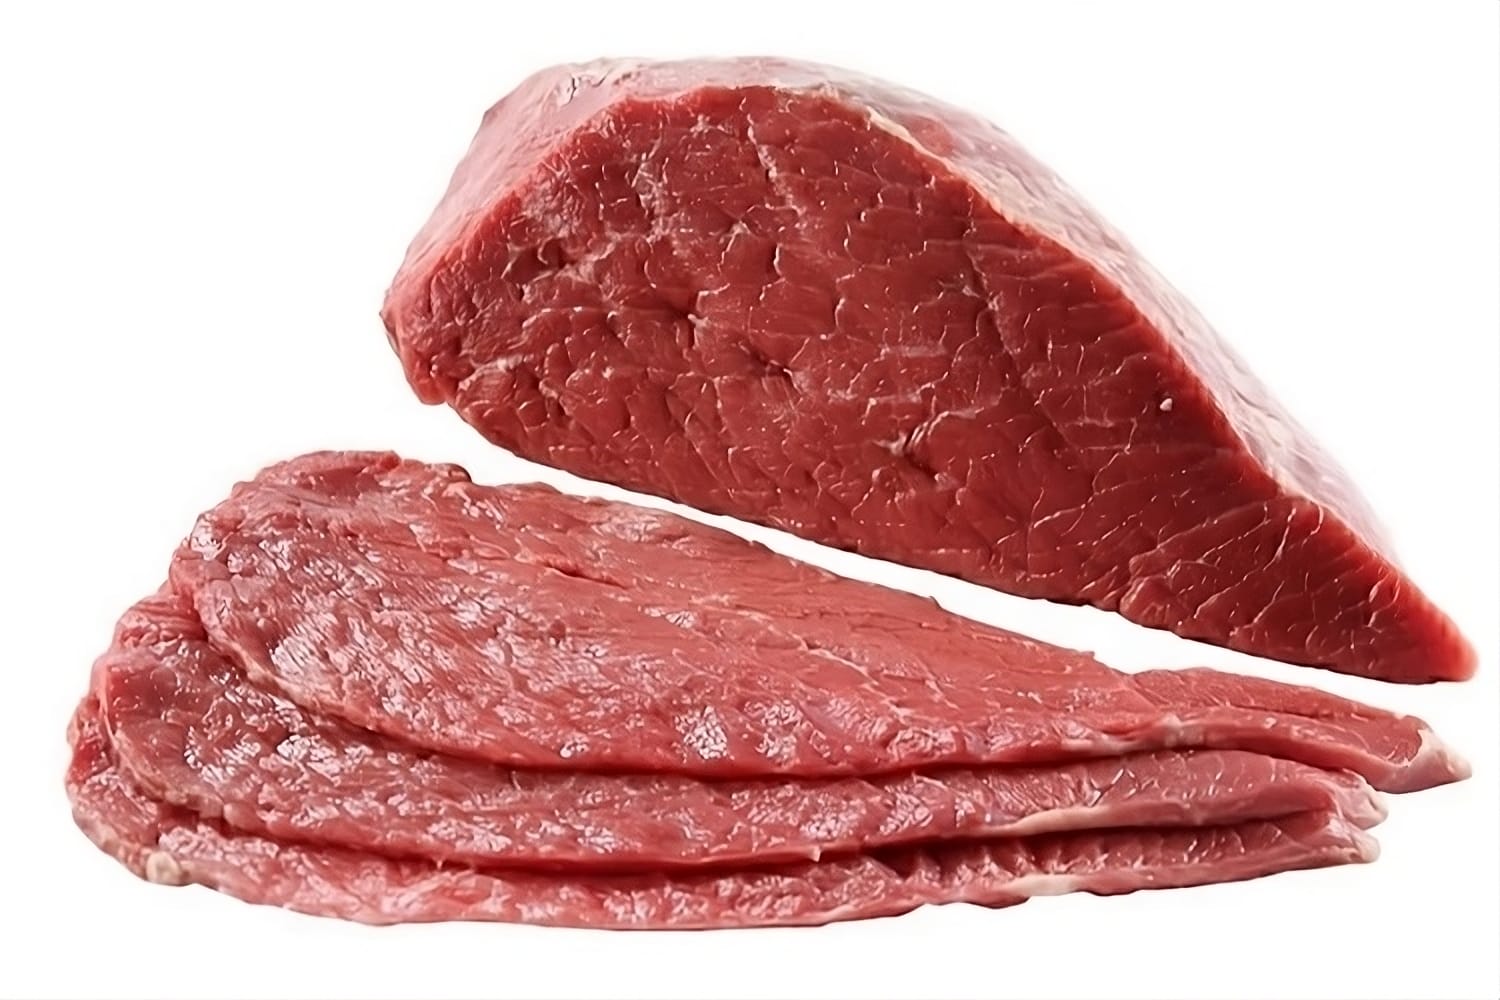
Another classic is eye of round (bola de lomo), though it varies more depending on the piece you get. It's flavorful but doesn't fully convince me because the center tends to concentrate the fat and stretch a lot. Being uneven, they yield less and are quite unpredictable for sandwiches. From one kilo you get 7 to 9 cutlets, just behind top round, and it's usually a bit cheaper.

Bottom round (cuadrada), on the other hand, is even, yields well at a good price, and is flavorful. But it can also be tougher. From one kilo you can get between 10 and 14, depending on which part of the piece they cut, and that also determines whether they come out thin and long or nicely square. It's usually at the same price level as eye of round or slightly below.
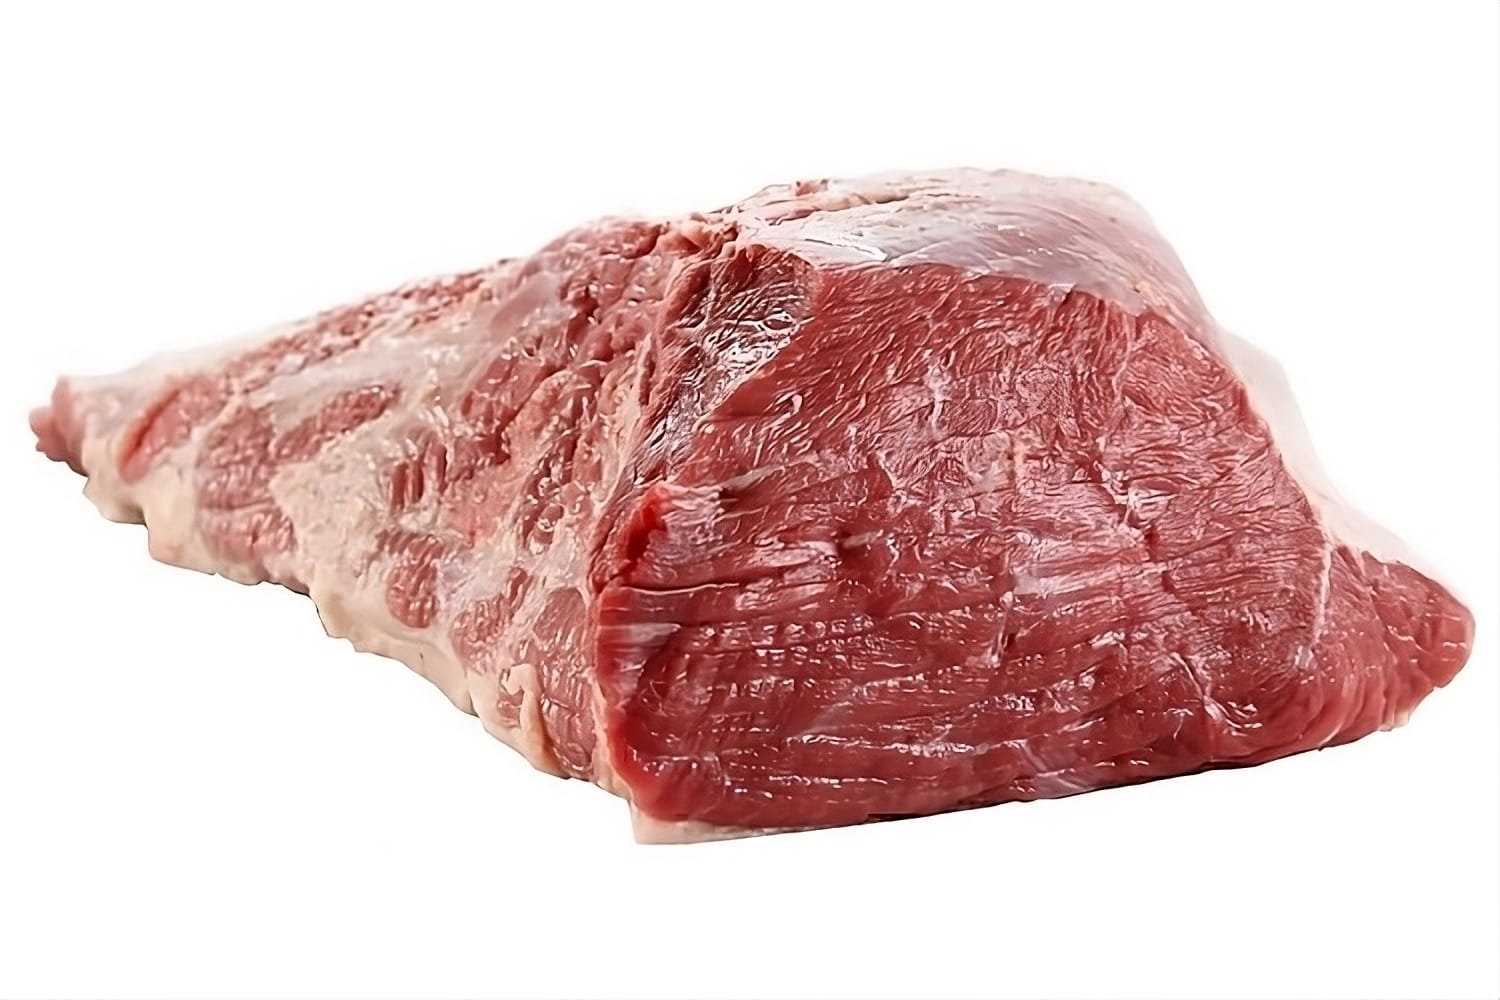
All three cuts are flavorful, reasonably priced, and yield well. That's why the choice comes down to personal taste, trust in your butcher, and what you'll use them for. Top round works for everything, eye of round is better for plating (because of its size), and bottom round for sandwiches (because of its shape).
Disclaimer 1: about peceto and cuadril
Peceto (beef eye round roast) milanesas are expensive and kind of a bait. Well-seasoned, peceto is flavorful, but for 1 kilo of meat you have to bread 200 slices. Either that or they have to cut them thick, and they yield less. And they're kind of a bait because to make memorable homemade peceto milanesas — fried or oven-baked with olive oil to detonate all the flavor — you need willpower, both your own and everyone else's. You can work a ton only to end up with tiny, bland, overpriced milanesas. As for cuadril (rump steak), I don't like its flavor in milanesas, even though I love it as a grilled steak. If you like it as a milanesa, that's totally fine.
Step by step to prepare milanesas
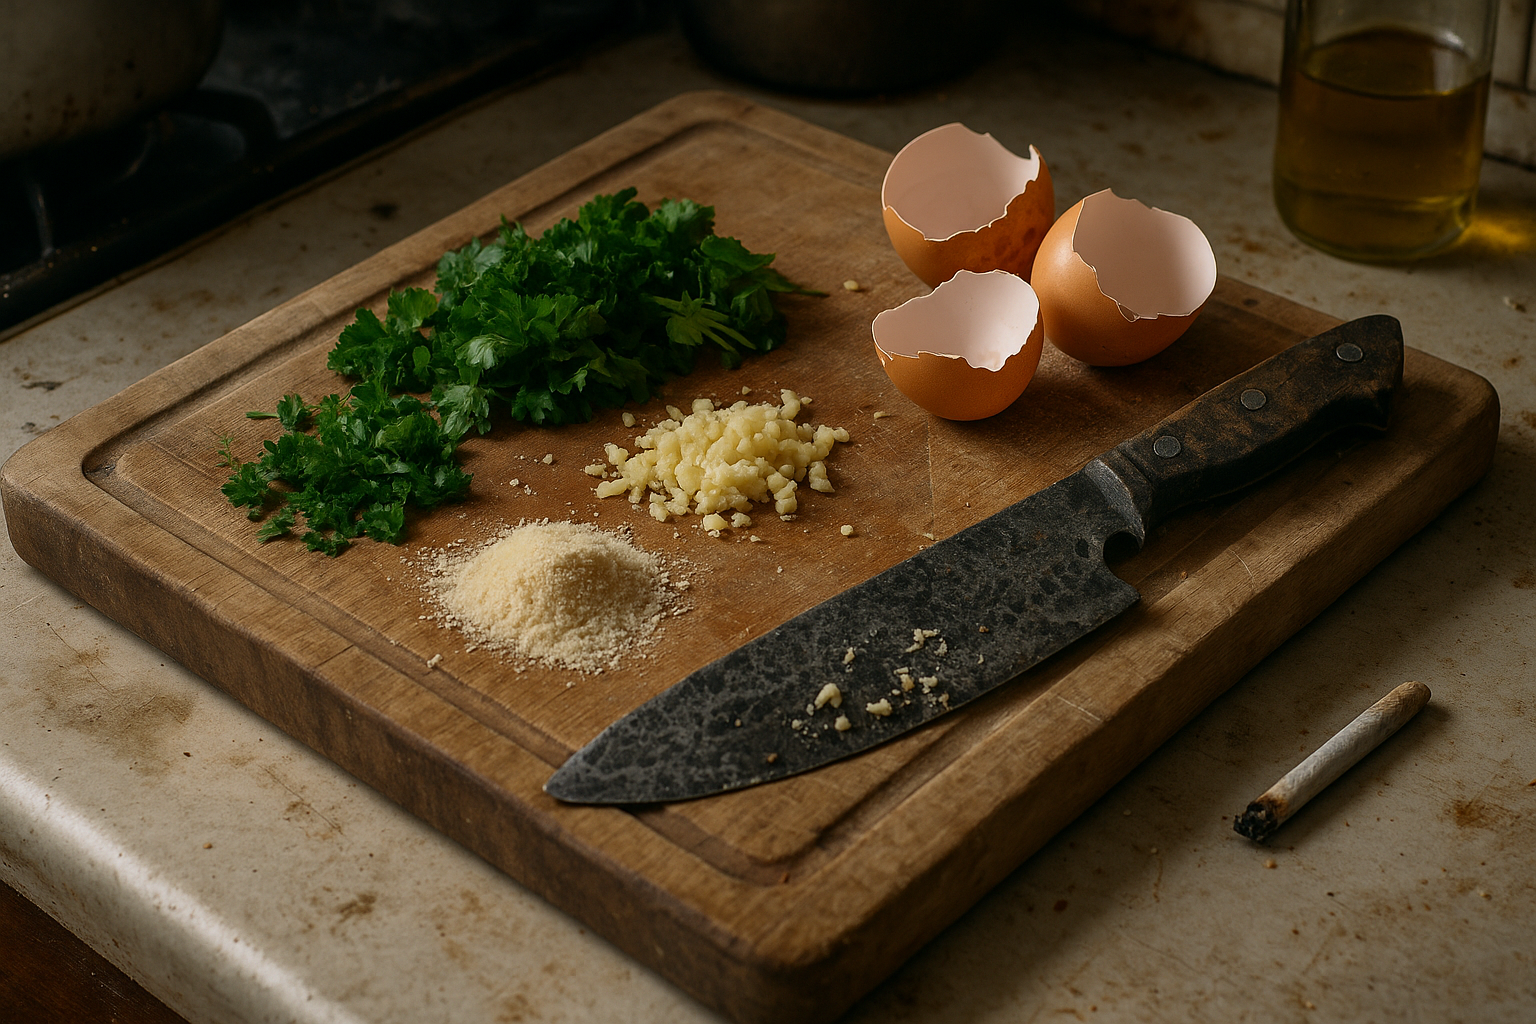
A meter of counter space and three key elements: meat, egg, breadcrumbs. Three stations to which we'll add only the essentials.
The meat: first I separate the cutlets on a cutting board, remove any fat, membranes, or tough sinew; I sprinkle fine salt on both sides + pepper only on top; and let them sweat a bit.
The egg: per kilo of meat, I beat four eggs with a teaspoon of fine salt and a few good gratings of nutmeg (or a level tablespoon if you use ground); everything well beaten until the liquid has an even consistency, which allows for a clean and effective breading.
The breadcrumbs: for the dry element I use a mix of breadcrumbs and/or coating flour + dried parsley-garlic mix (provenzal), because chopping fresh garlic and parsley is a time sink that breaks the convenience pact between humans and milanesas.
So, I put an exaggerated amount of breadcrumbs on a wide tray or on newspaper if I have any; I dip the cutlets in egg, toss them onto the breadcrumbs, cover them and press down with my open hand. The key pressure point for breading is the push, not the punch. Some people punish the meat and their knuckles out of pleasure, anxiety, habit, or mimicry, and end up with see-through milanesas. No need for that. Open hand and pressure. Flip and repeat.
The ideal milanesa should be several millimeters thick, with the meat taking up most of it, though not so thick as to complicate a quick cook, which is the other thing we need from them.
The time for this preparation depends on several factors, mainly the level of weed smoked. I take about an hour, but in 30 minutes or less you can prepare over a kilo of high-quality homemade milanesas, ready for the week.
In summary: meat with salt and pepper, egg with salt and nutmeg, breadcrumbs with coating flour and dried provenzal. With regular oil or olive oil, oven-baked on a sheet pan or tray, or fried in a skillet, to the desired doneness. I like my milanesa dry when it's with salad and pliable for my sandwiches. I just like milanesas, really.
Disclaimer 2: chicken ones are milanesas too
To make chicken breast milanesas I usually follow the same method, replacing some elements. The already-cut chicken breast cutlets can get a squeeze of lemon. For the egg, mustard instead of nutmeg. And for the breadcrumbs, some oats, panko, or polenta (though I use the same mix as for beef).

The final trick
If you made it this far, there's a bonus. My favorite cut for milanesas is tenderloin (solomillo), a magnificent tube of meat that yields thick, tender, and flavorful milanesas. At markets they sell it pre-cut but with a brutal markup. I prefer buying whole tenderloins (1.5/1.8 kilos) and working them myself: from the clean tenderloin I get 700 to 900g of meat for milanesas, from the meaty part around the tenderloin another half kilo of cutlets, and from the leftover trimmings I get decent meat for a sauce.
Breaking down the whole tenderloin adds time and spread to the operation, but I make up for it because a single process supplies me with meat for different preparations. But above all because the flavor payoff is worth it. Like everything surrounding the milanesa — a national cultural totem.