Low-Cost Guide to Having Weed All Year Round

28 de ene. de 2025 — Luis Paz
The dream of anyone passionate about something is to reach total supply, the ultimate source, that point where what we love "never runs out": the love of our partner, that delicious, refreshing soda, the golden era of our football team, Babasonicos albums, you name it. In this case, we're going to talk about weed and the ultimate pipe dream: having it all year round. There are many ways to achieve this, but most involve a massive amount of money. That's why we're going to try to secure a constant supply of fresh buds with the lowest investment.
Cannabis is a seasonal plant, as Juan already explained in this outdoor growing guide, which you can refer to if something in my article about substrates, preventatives, fertilizers, or plant phases isn't clear enough. Shortcuts I plan to take so this guide doesn't get too redundant. The difference is that in this case, we'll inevitably need to set up an indoor grow, greenhouse, or indoor setup. A tent, a light, coolers, patience, and consistency.
Many people can combine and run outdoor grows alongside several indoor harvests throughout the year. That's the ideal situation, but right now I want to lay out the worst-case scenario: not being able to have plants outside. Even though elder millennials -- like us at 421 -- use it daily, weed is mostly consumed by adults in their 20s, who don't always have space available for planting in soil (because they live in studio apartments, for example) or maybe they do but don't have the authority to do it (because they live with their parents, for instance).
The goal
There are hundreds of possible combinations of tents, lights, ventilation systems, specific instruments, genetics, techniques, and supplements for growing marijuana, with variable results that can range from a jar full of buds to harvests of over half a kilo pulled from a corner of the living room. Here we're going to keep it cheap and real, but trying to maximize production to the point of having one gram available per day.
So, the goal of this project is to get 365 grams in a year, with five consecutive harvests. We're talking about a budget of no less than 2 million pesos on the p2p market. The challenge is to get the same thing, but much cheaper.
The seeds
For these purposes, we're going to need fast-growing, high-yielding plants to make the most of the time and space available. We'll also need to make sure they all turn out female, so getting feminized seeds will be mandatory. But we'll avoid autoflowers, since we're going to have to manipulate -- through light exposure and SCROG techniques -- the growth rate and phase transition of the plants.
I'd say a Critical variety from your favorite seed bank would be a good starting point. In general, Critical strains tend to offer a decent amount of THC, between 17% and 19% under ideal growing, harvesting, drying, and curing conditions. In a tent, they reach a height of 1.2 meters, 1.4 at most. With proper hardware and nutrients, they can yield up to half a kilo dry per square meter. And all of that in a very short cycle of about 60 to 70 days. Meaning, five per year.
The Critical Smog auto from Gold Seeds was one of the best plants I harvested indoors, in terms of ease of growing, volume, and results, but seeds don't seem to be available anymore. Still, every seed bank has a feminized Critical to offer: BSF has their Critical + 2 femi, more potent than usual, with 20% THC but a harvest that takes a few extra days. The 12-seed blister pack is under $100,000. A sensible starting point.
The equipment
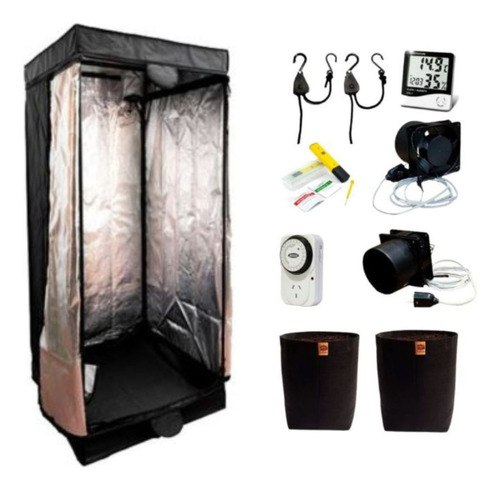
Criticals are not only perfect for beginners and the careless -- the pest resistance and intrinsic strength of nearly any lab seed makes them somewhat "idiot-proof" -- but they're also the prototype of the genetics we want to put in our greenhouse. And to keep costs low and space to a minimum, we're going to make do with the smallest tent on the market, which is a 40x40x160. Today you can get one of these delivered to your door for under $160,000.
There's not much mystery with tents. You assemble a rectangular frame with tubes to shape the structure and cover it with the canvas, which has a reflective interior, a front zipper, and two air intakes. In those openings you place two 10-centimeter coolers, like computer fans. One pushing fresh air into the tent from the bottom, about 30 centimeters off the floor, and the other extracting hot air from the top. For about $30,000 more they sell the pair assembled and wired, already with the transformer and everything.
The last element, and the most important, is the light. A 100W LED is the bare minimum for this tent size, which remember will be 40x40x160, giving us roughly 0.15 square meters of growing area. The 100W full spectrum LED from GrowTech, a brand I've tried and has never given me problems, costs another $100,000. CFL lights are cheaper and generate less heat than LEDs, but they consume more power and fall short if you're looking for good yield in grams. On the other hand, HID lights produce a lot more, due to their intensity, but they generate a lot of heat, require more ventilation, have shorter lifespans, and use more electricity. Don't overthink it, get yourself a full spectrum LED.
The budget
Let's do some math. So far we have $100,000 in seeds for the whole year (we'll only harvest five plants, but we're counting extra seeds just in case). Add $160,000 for the tent, $30,000 for the coolers, and $100,000 for the light. Plus $10,000 for the light timer, another $10,000 for the thermohygrometer, and another $10,000 for the 40x40 elastic net we'll use for SCROG, which you can find cheaper at motorcycle parts shops, where they call them "octopus nets".
The remaining $80,000 to round up to half a million is enough to buy the pots (several 1-liter blow-molded ones and at least one 10-liter fabric pot, all for 10 to 15k), indoor substrate (80 liters for 20k), and basic preventatives and fertilizers for each phase.
You also need to factor in the energy consumption cost of the light. Of each 10-week cycle we're going to run, during the first 20 days the light will run 20 hours per day, using 40 kilowatts. The other 50 days it will run 12 hours of light per day, adding another 60 kilowatts. At today's rates, that's about $12,000 in extra electricity per cycle, annualized around $60,000 plus inflation, plus the consumption added by the coolers, which are always on.
And that's it, friend -- you don't need more than a total investment of $600,000, or about 500 dollars, to generate a continuous flow of weed to have one gram per day.
The procedures
I'm going to speed things up here, because there's tons of info about all this in Juan's article and on the internet in general.
The first cycle starts a few weeks before you set up the tent, install the coolers, hang the light, and plug everything in. The seedling you're going to put inside should be one you've already germinated and grown for a few days outside the tent. I usually germinate by placing the seed directly in a glass of water and transferring it to micro pots the next day. The ones that sprout, I transplant immediately into 1-liter mini pots and cover the stem with substrate, so the first serrated leaves are almost level with the soil.
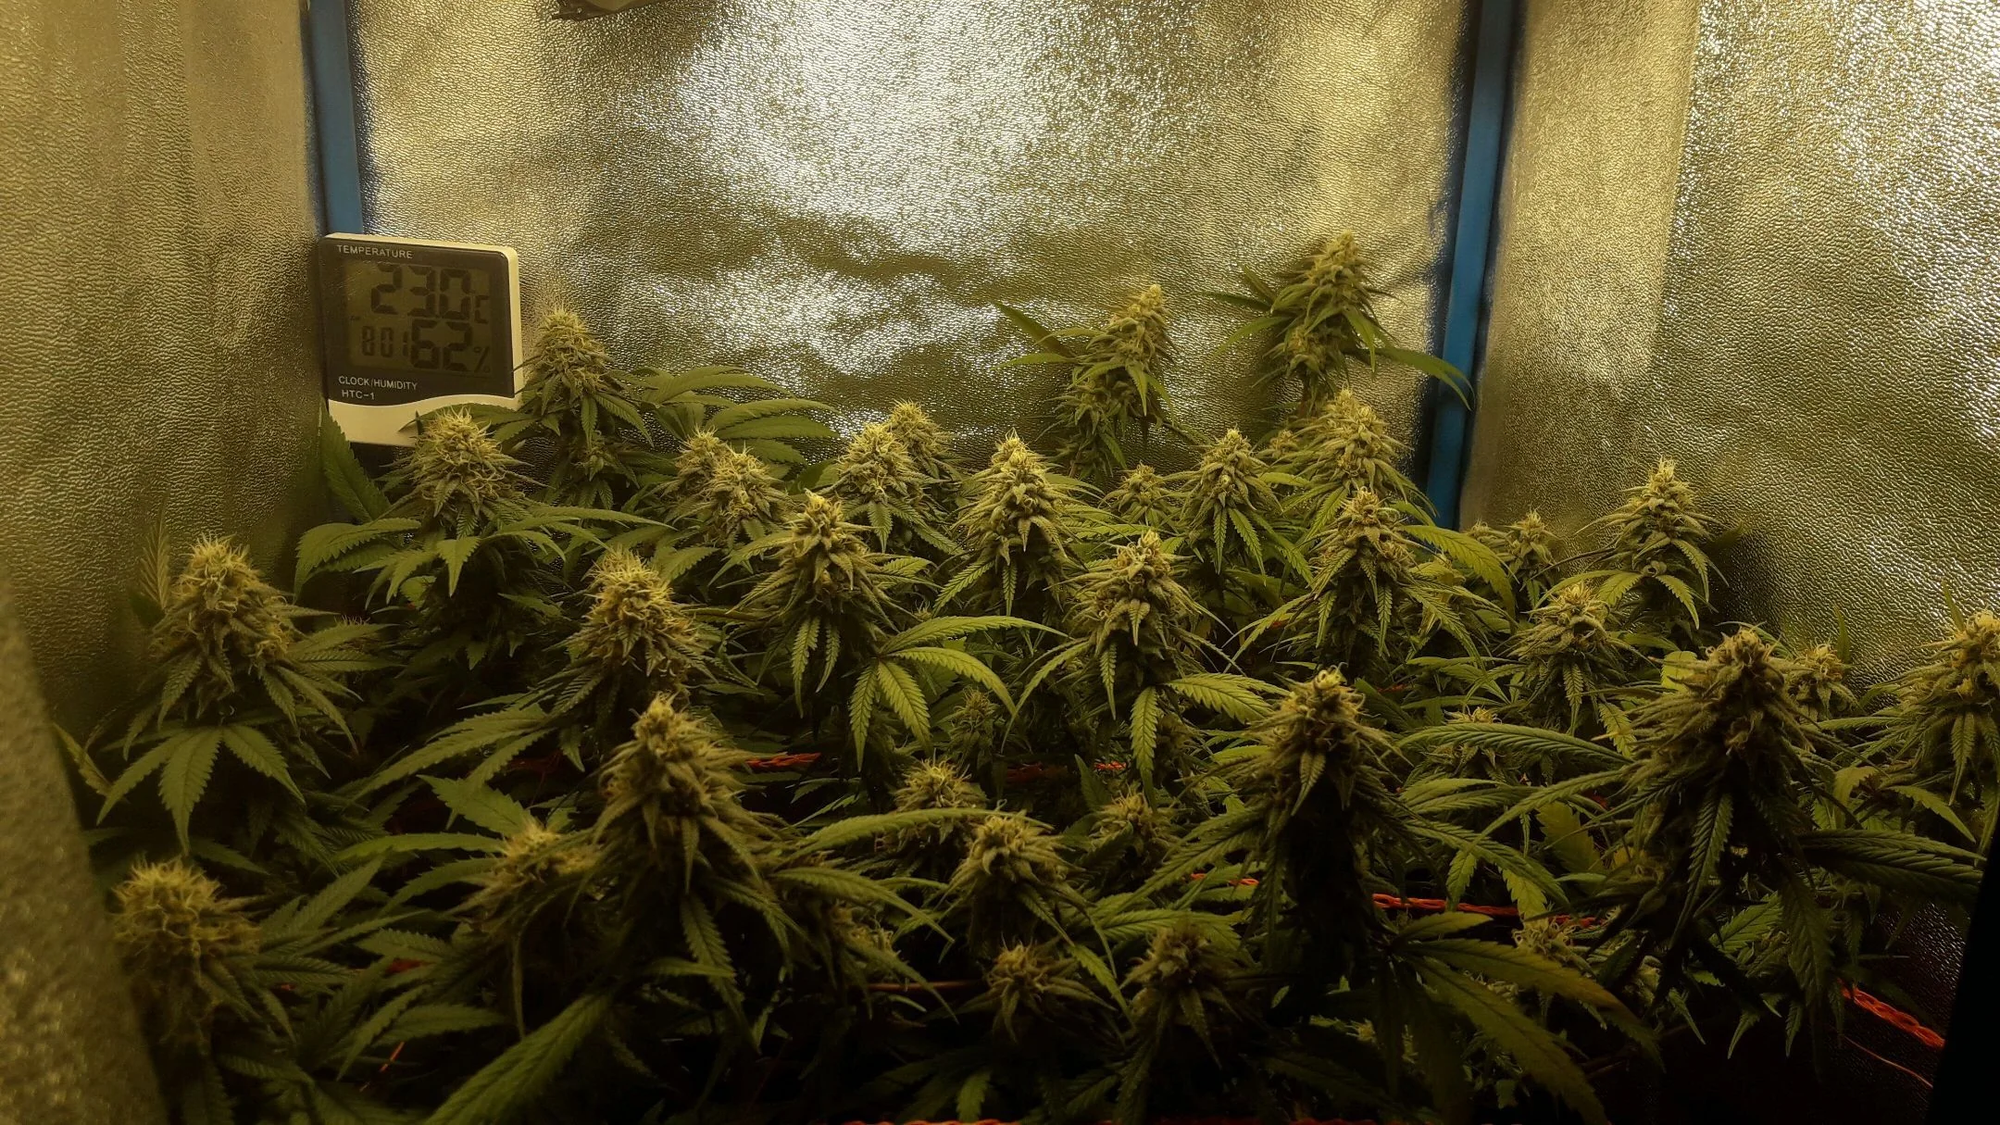
For 20 days you're going to feed them light, at a rate of 20 hours per day, monitoring the internal temperature of the tent -- which ideally should always be between 20 and 25 degrees Celsius -- and the humidity level. The first four or five days you need maximum humidity. Besides watering very sparingly during the day, during the time the light is off you'll need to take the opportunity to spray the seedling, so plan what time the light turns off.
In weeks two and three you need 65% humidity. And in that third week you can add some nutritional supplement to the substrate or some type of fertilizer. As soon as the plant starts showing signs of having settled in and producing good branch and leaf growth, you give it a topping cut and place the SCROG net.
This vegetative cycle will last three weeks indoors -- plus that other week prior of germination and seedling growth outside the tent -- and in its final days you need to focus on arranging the shoots in the SCROG net, maximizing the covered surface area.
Upon completing the third week, regardless of its state, we're going to force the plant to switch to flowering. To do this, we'll set the LED timer to only 12 hours of light. In the first ten days, the plant will put on significant growth, which we'll support with fertilizer, gradually raising the light and the net, and arranging the new shoots. Ideally, by mid-cycle, at the end of the second week of flowering or the fifth week since entering the indoor setup, we should already have most of the growing surface covered.
From there on, it's about continuing to care for the plant with preventatives and fertilizers for another three weeks (weeks 6, 7, and 8 of the cycle) to maximize the potency of the harvest. In the last two weeks, we remove all treatments, begin the root flush, and gradually extend the hours of darkness in the tent. Meanwhile, outside the tent, we should already be germinating the new batch of seeds and growing the seedlings.
The results
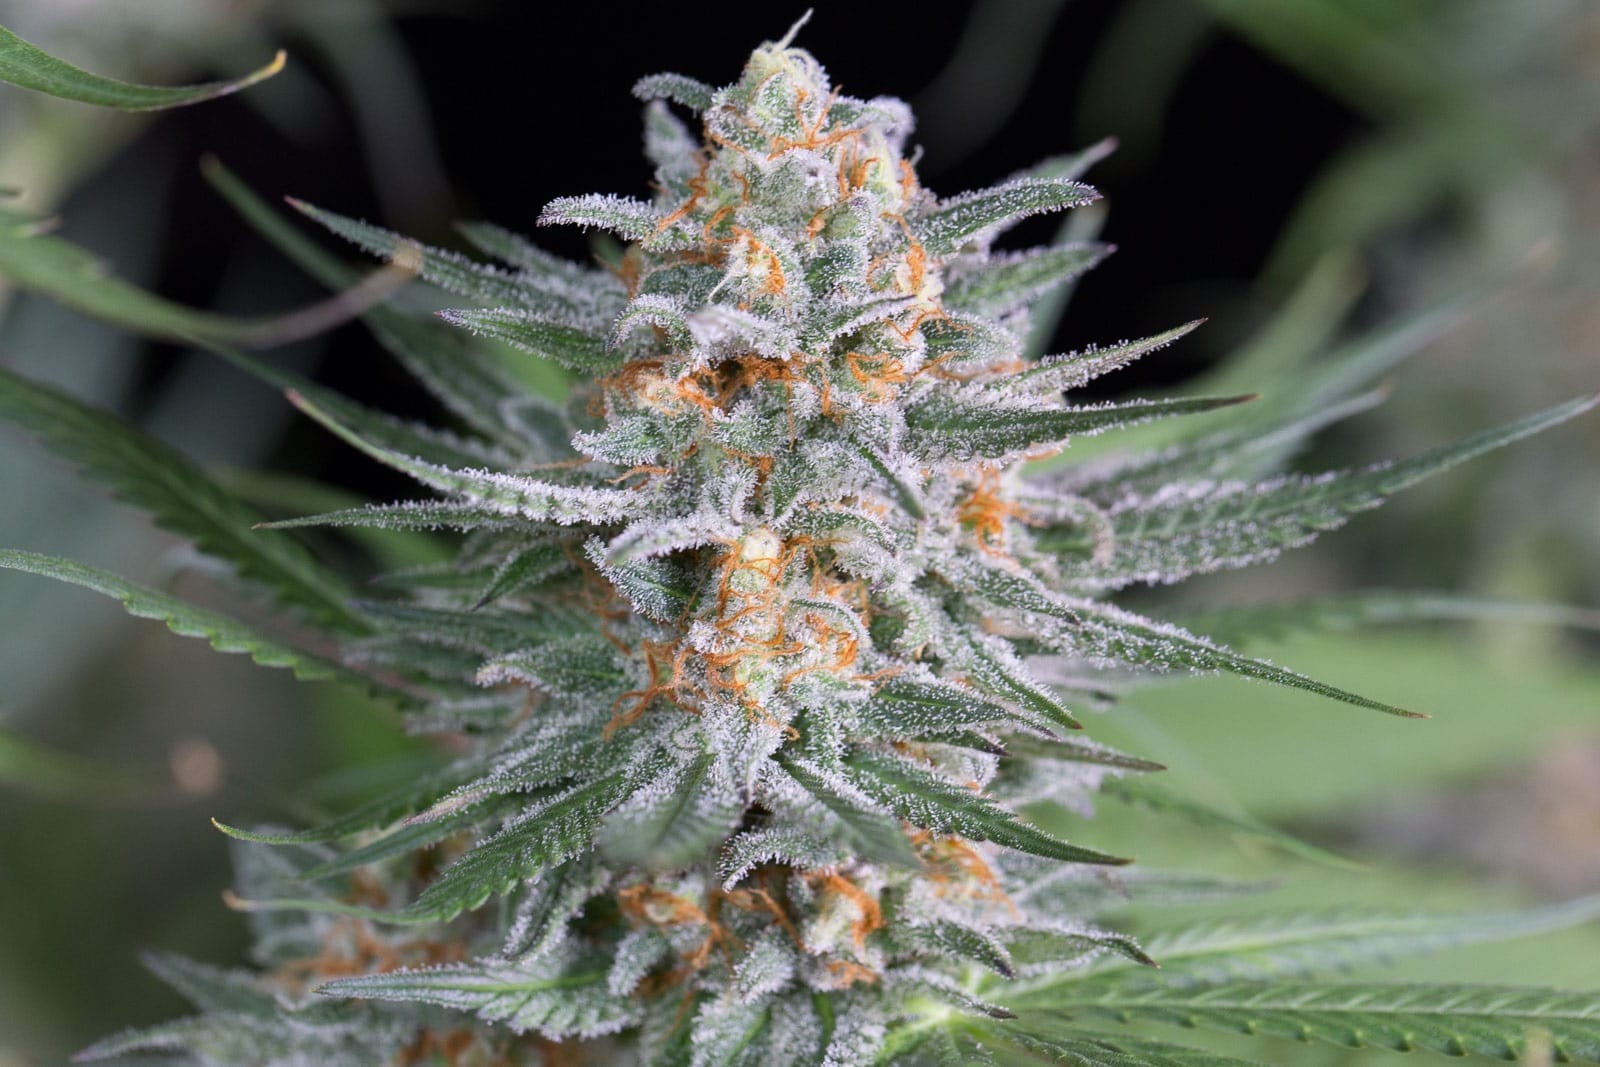
If everything goes well, after 10 weeks you'll be cutting an average of 70 grams of Critical, precisely 1g per day. A Critical easily yields 500 grams per square meter, and in a 40x40 tent you can have up to 0.15 square meters covered in buds, which actually gives you 75. Other genetics can even reach 600 or 650g per square meter indoors, which would push the yield very close to 100g per cycle.
It's true that, for the first batch, you won't have any weed until you wait for the drying and curing of the first harvest, but once you've got the wheel spinning, you can forget about it. In any case, you'll still have over a million and a half pesos left over.